In the examples below, we'll use a website powered by WordPress. If your website uses a different CMS, the steps remain relatively the same:
- Go to where the generated code of the Cookie Consent has been added. Usually, that's the header or footer part of your website.
- Edit the configuration code according to the instructions below. For this particular task, the parameter is "
notice_banner_type."
Instructions:
-
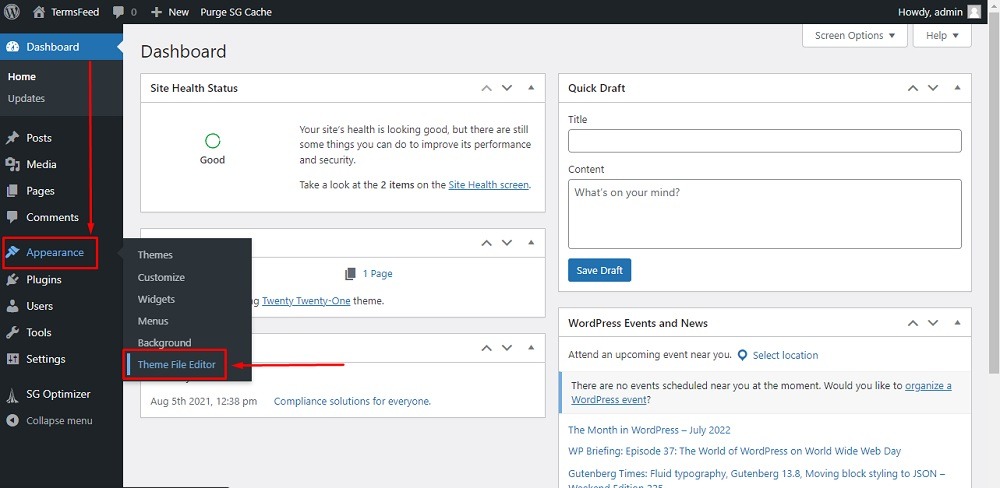
Go to your website. If you use WordPress, go to Appearance and click on Theme File Editor:
-
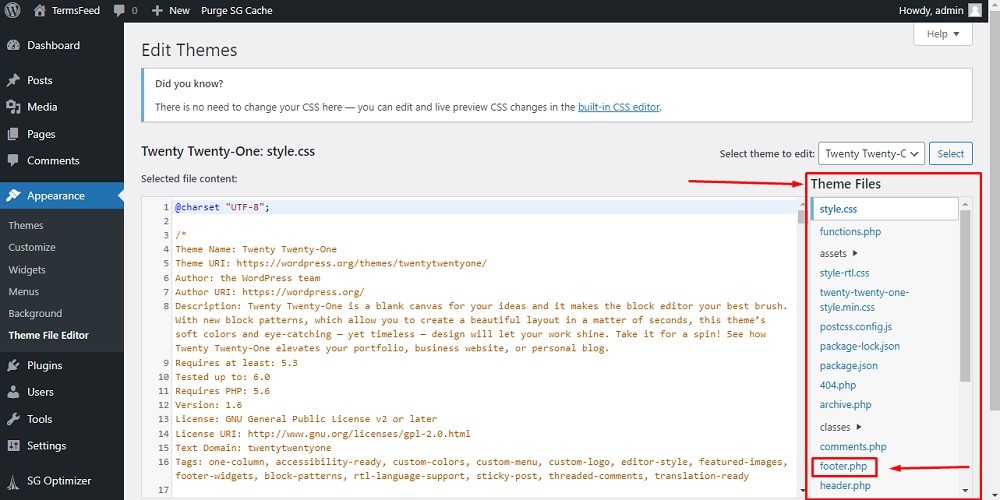
In the Edit Themes section from Theme files on the right side, choose footer.php:
-
Scroll down up to the
</body>tag. In our example here, the Cookie Consent code has already been generated and added: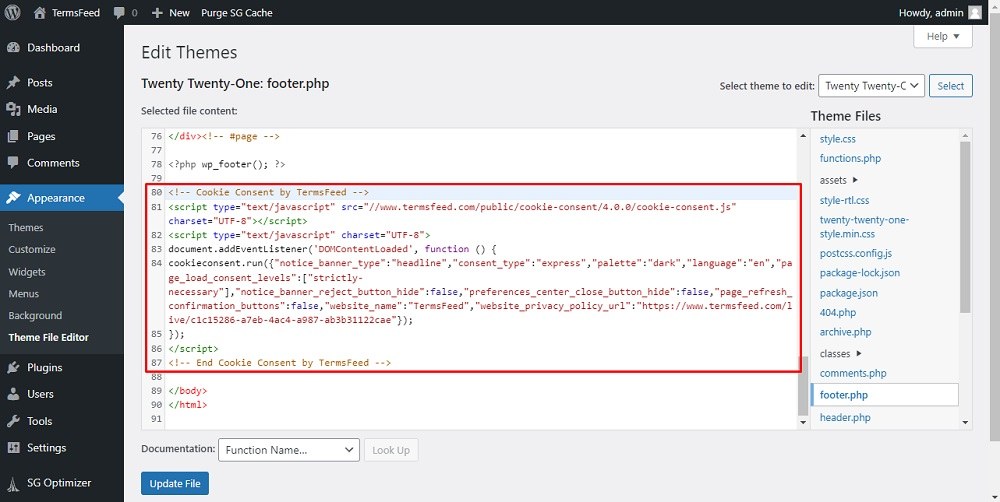
-
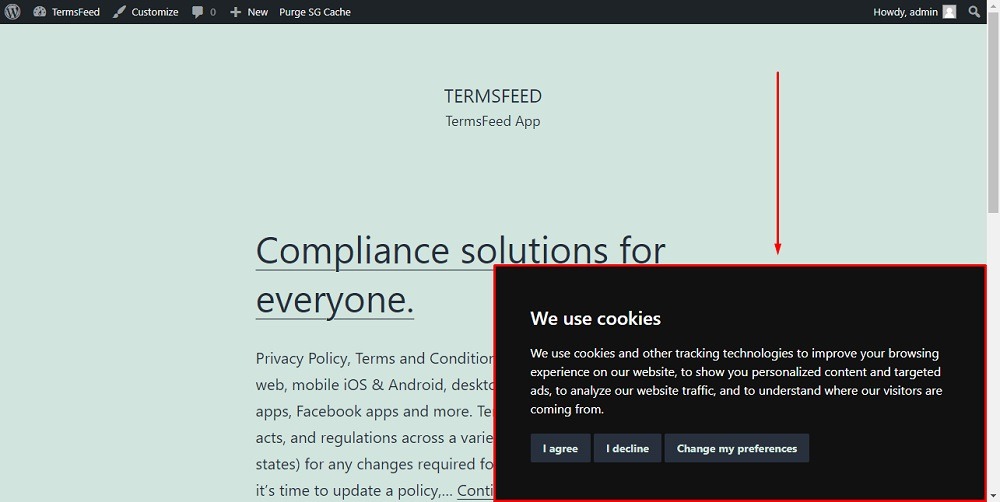
Now you can change the style (design) of the notice banner using the "
notice_banner_type" parameter.Change it from
"notice_banner_type":"headline"to"notice_banner_type":"simple":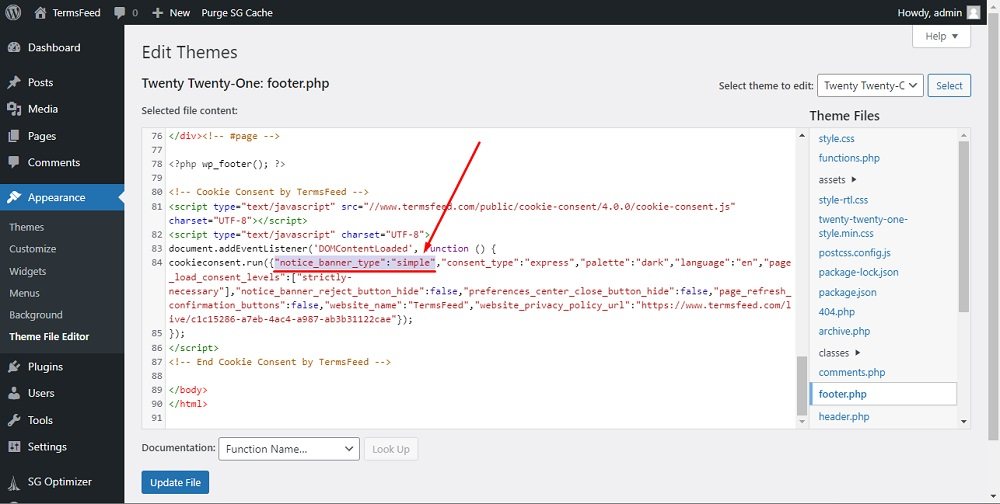
-
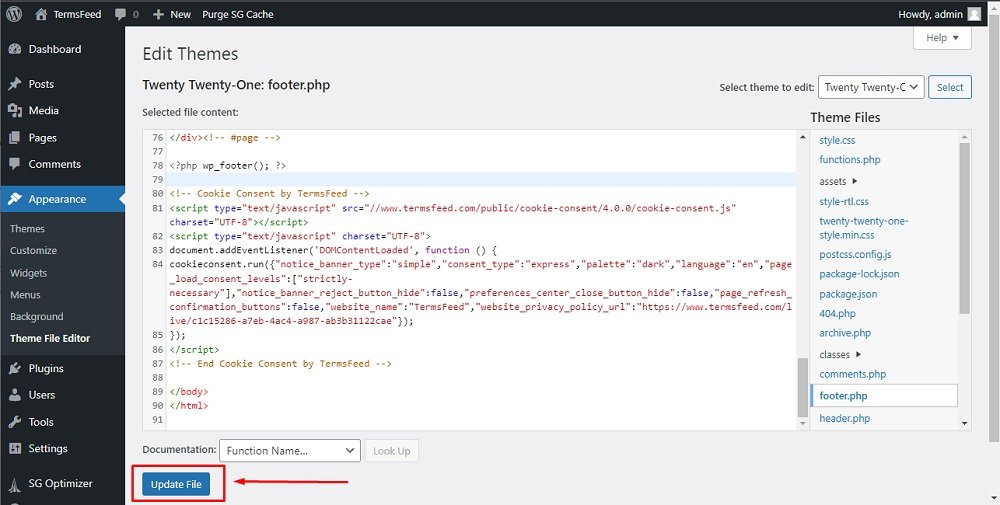
Click on Update file:
-
Done! The Cookie Consent Notice Banner will now be displayed with a different style: