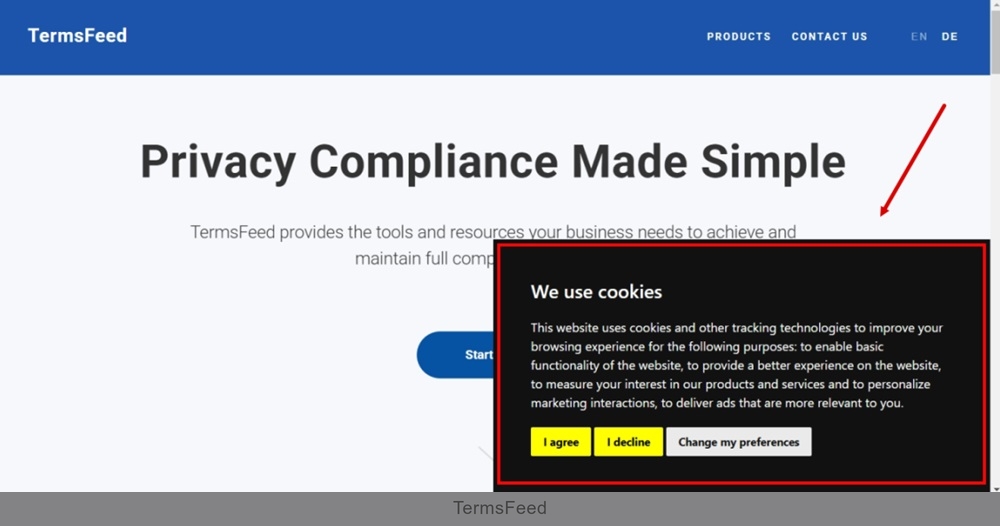
In this video, we'll show you how to generate a free Cookie Consent notice banner and add it to the footer on your Tilda website.
The header and footer sections on Tilda are separate pages. For our video these pages are already created and configured.

Let's start:
-
Go to our Free Cookie Consent Solution page to create the Cookie Consent code necessary to show the notice banner on your Tilda website.
-
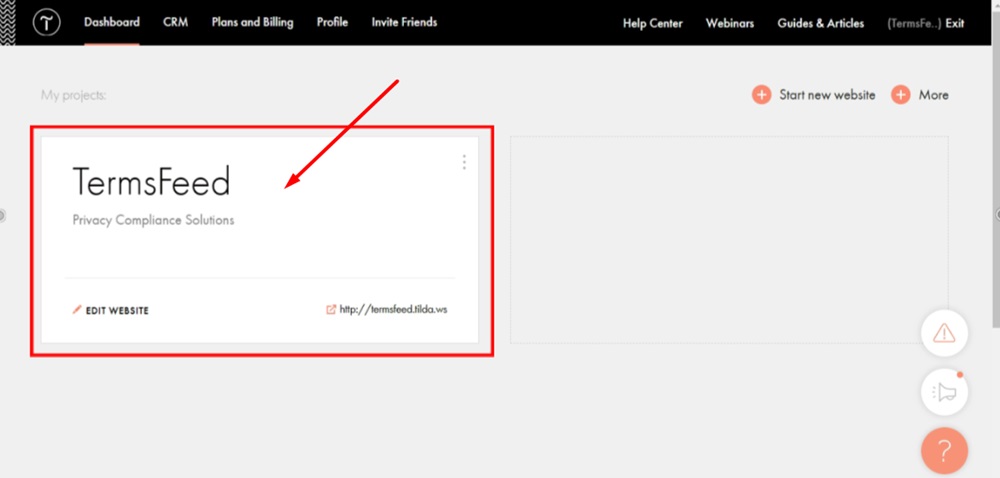
Log in to your Tilda account. Click "Edit site":
-
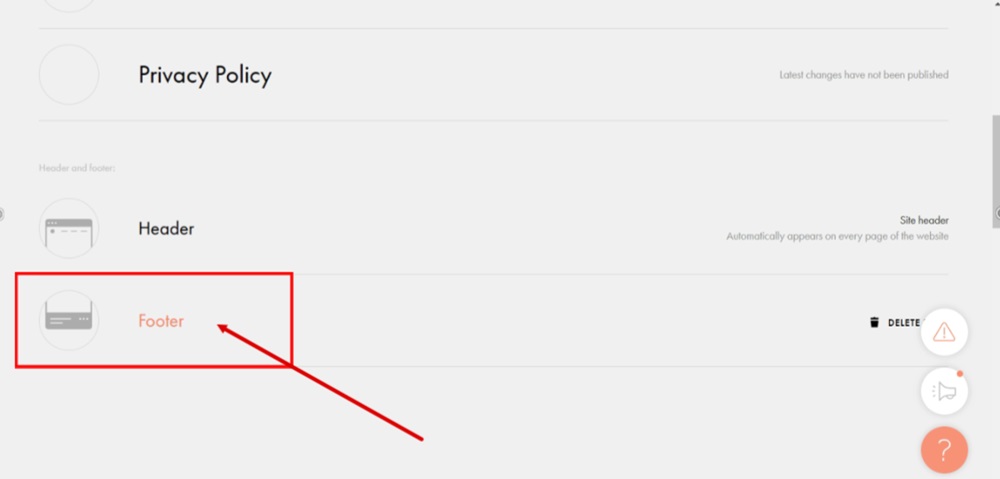
Click the Footer to start editing it:
-
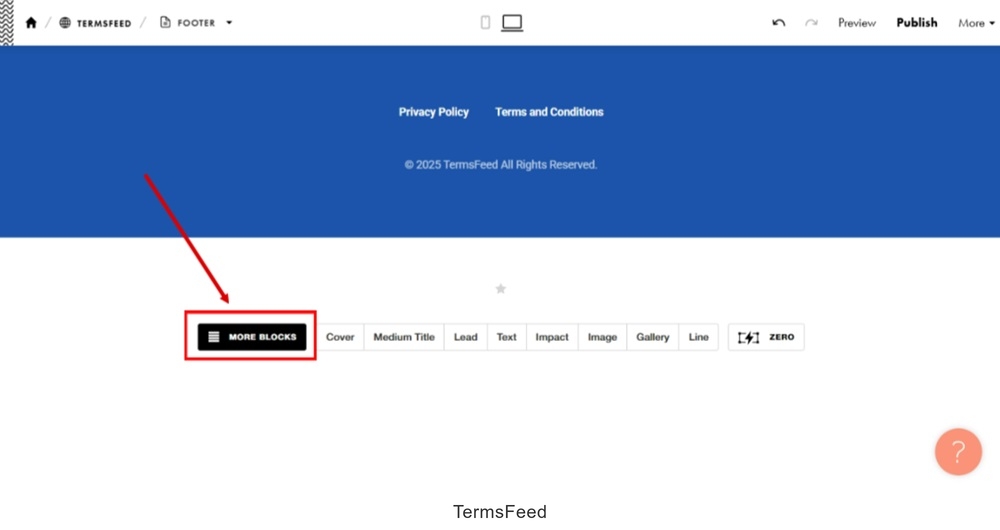
Click the "More Blocks" option:
-
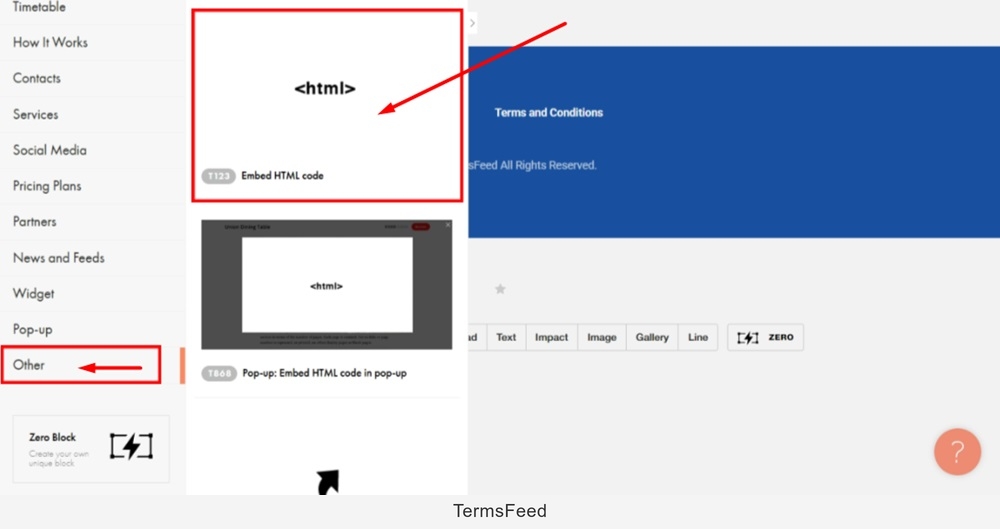
From the Block library, scroll down to the "Other" option and click at the "Embed HTML code" block to add:
-
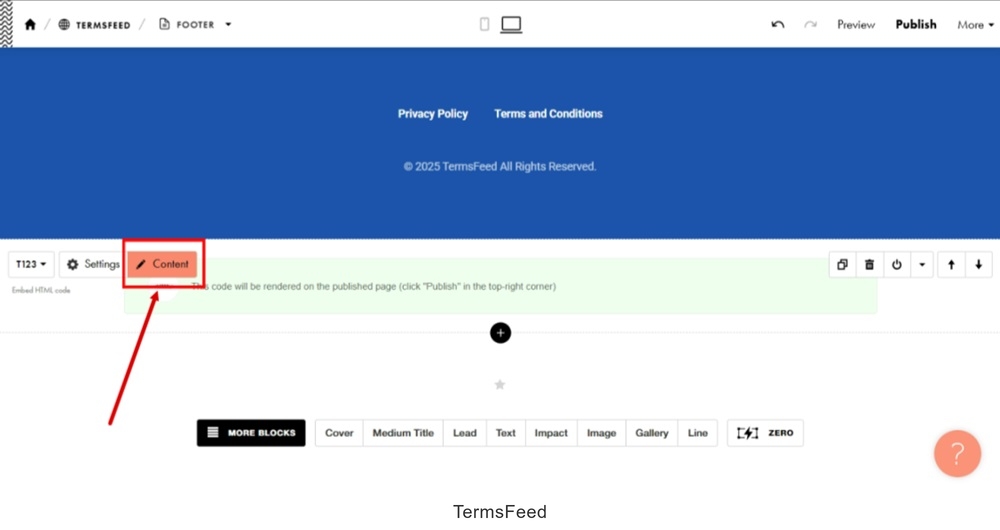
Click the "Content" to open the code editor:
-
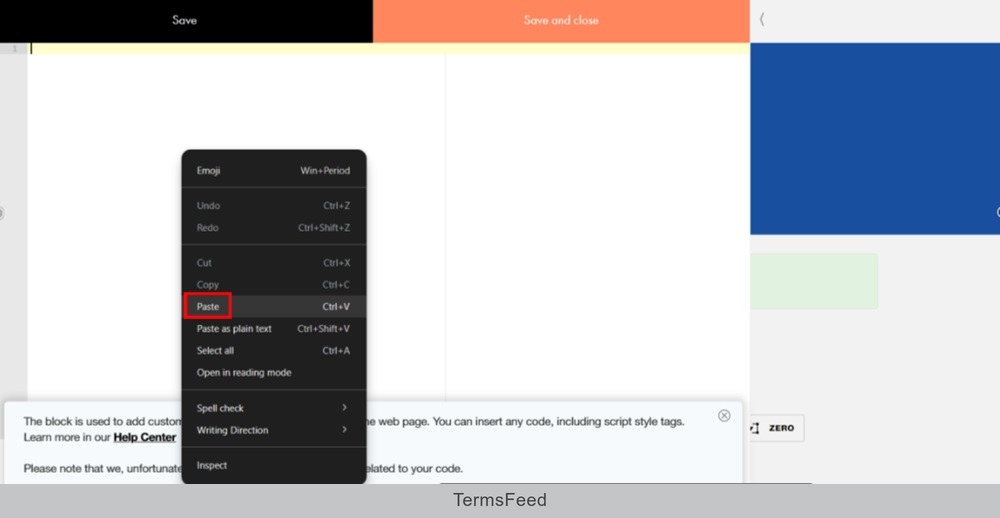
Paste the generated Cookie Consent banner code in the editor:
-
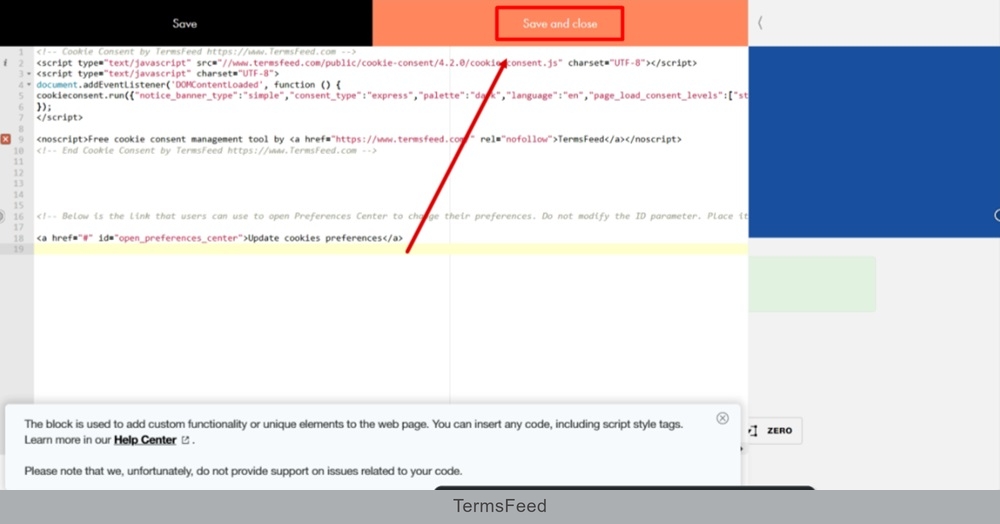
Click "Save and close:"
-
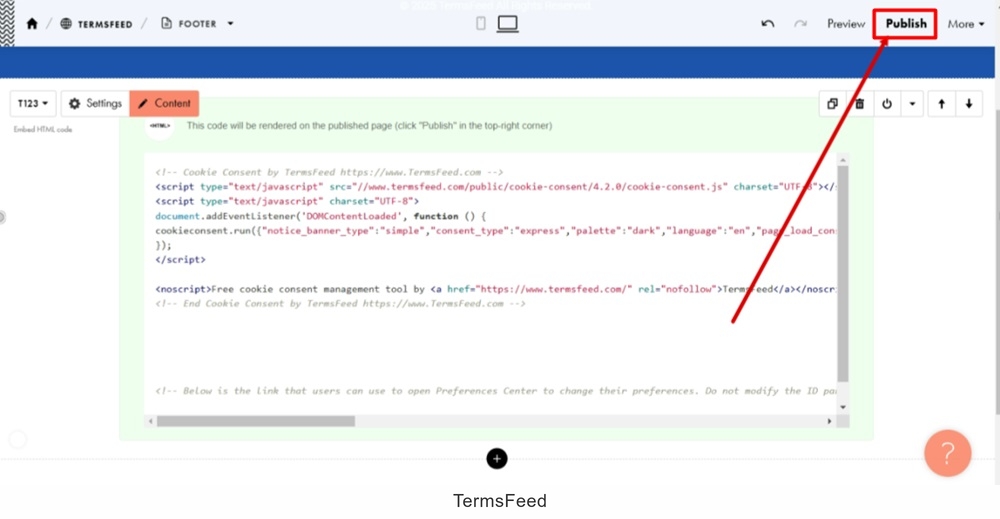
Publish changes:
-
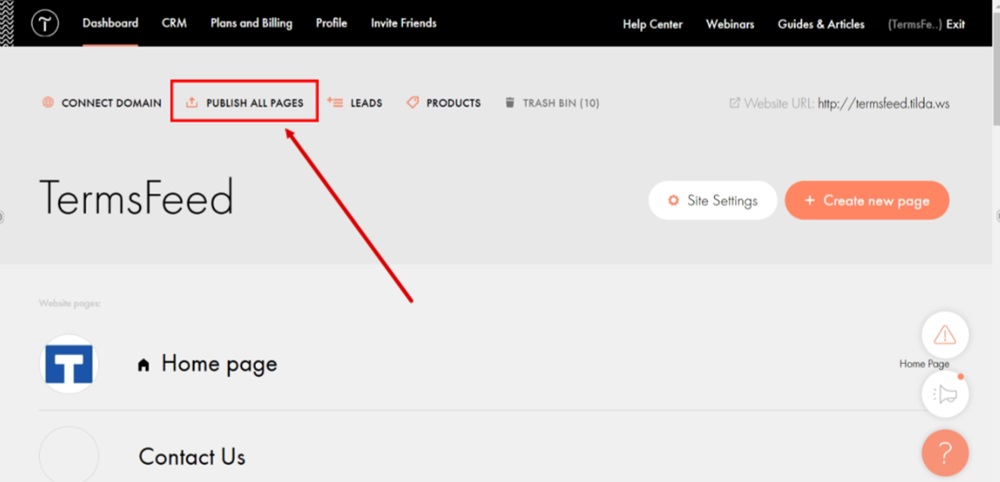
Go back to the website and click "Publish All Pages:"
-
The Cookie Consent Notice Banner is now displayed on the Tilda website: