

AI Summarize
![]()
![]()
![]()
![]()
![]()
Share
![]()
![]()
![]()
Adding a disclaimer to your website is a simple yet effective way to communicate important information to your site visitors. Disclaimers can also help limit your legal liability in certain cases. While not every website or blog will necessarily need a disclaimer, some certainly should have one.
Common types of websites that should definitely have a disclaimer include sites where:
- Medical or health advice or information is shared
- Financial or investment tips are offered
- Instructions or step-by-step guides are made available
- Products are sold
- Personal opinions are shared
- Affiliate links are embedded
For examples of common disclaimers and an explanation of the benefits of each, check out our article on Disclaimer Examples. For assistance creating your disclaimer, our Sample Disclaimer Template is a popular resource.
Once you have your disclaimer ready to be displayed, here's how you can add it to your WordPress site for maximum effectiveness. First, we'll show you how to create a disclaimer page, where the text of your disclaimer will go. Then we'll show you how to link that page to your WordPress site's footer or other menu area.
Our Disclaimer Generator can generate a legal disclaimer for your business, website or mobile app. Just follow these steps:
-
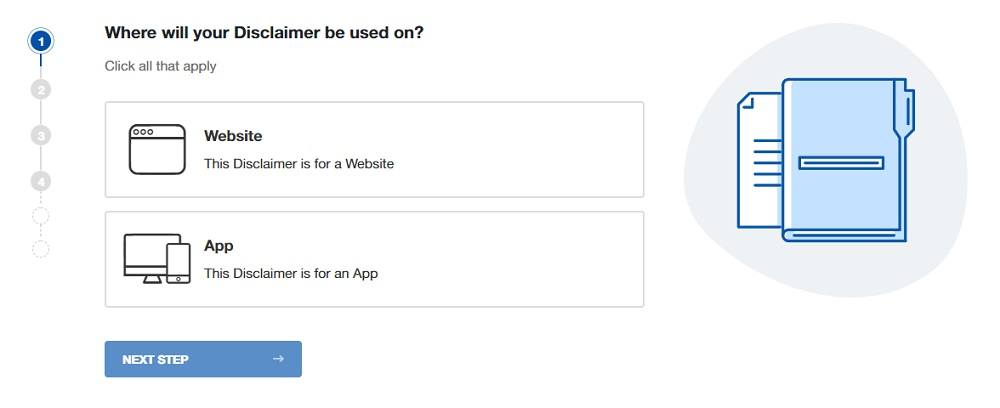
At Step 1, select where your Disclaimer will be used.
-
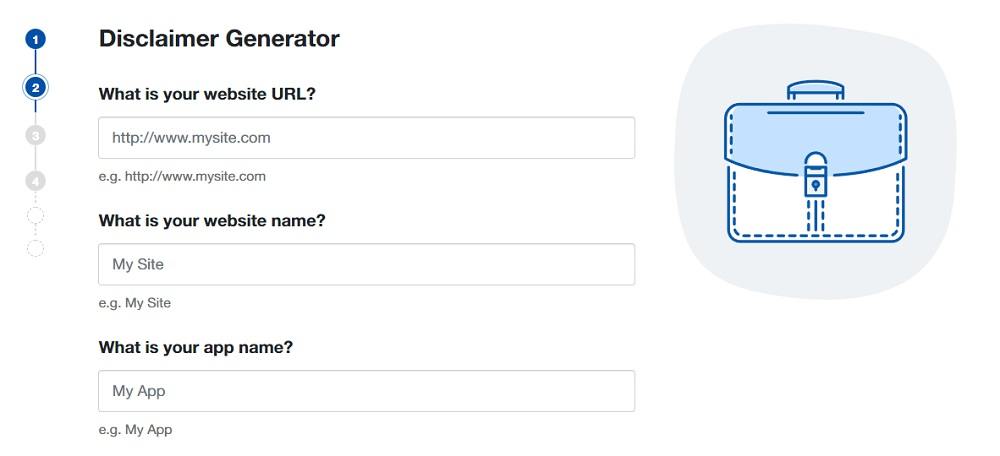
At Step 2, add in information about your website/app and business.
-
Answer some questions about your business practices.

-
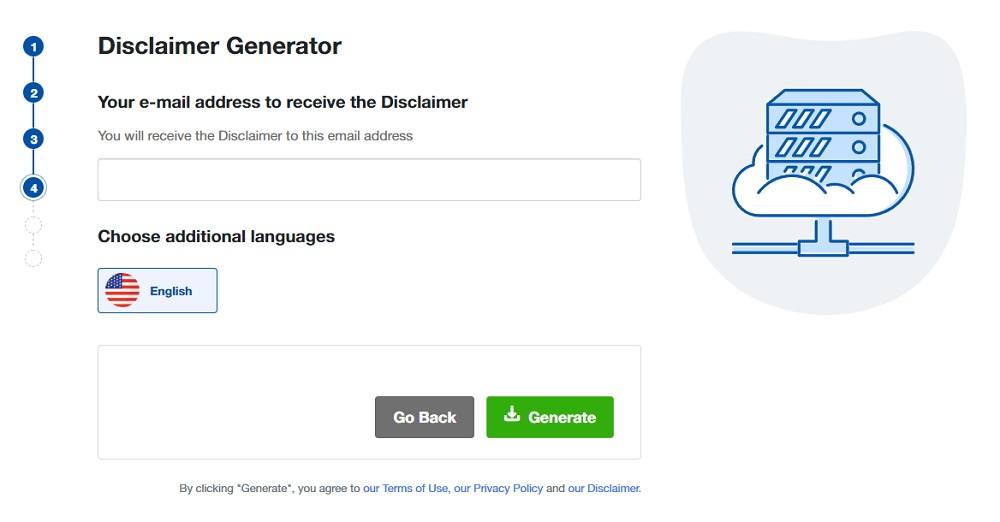
Enter an email address where you'd like to receive your Disclaimer and click "Generate."
Done! You'll be able to instantly access and download your new Disclaimer.


How to Create a Disclaimer Page on WordPress
Here are instructions for how to create a new Disclaimer page for your website hosted on WordPress.
- Log in to WordPress.
- From the Dashboard, click on Pages and select Add New:
- Type Disclaimer as the title:
-
Now you need to add text to your Disclaimer page.
If you do not have a Disclaimer, you can use our Disclaimer Generator and create it within minutes.
Here, we'll show how you can easily just copy-paste text from our generator into your WP website.
- Go to the TermsFeed App and log in.
- In the header menu, choose Agreements & Policies.
- Click Download on the Disclaimer card.
- Under the Copy your Disclaimer section, click on Copy this to clipboard.
- Go back to the WP Page editor and paste the text in the page content area:
- When done, click Publish and your page will be live:


You're done!
Want more?
Check our videos on YouTube channel and learn how to link pages on WordPress by using Menus and Widgets:
- How to Link to a Disclaimer URL using Menus on WordPress
- How to Link to a Disclaimer URL using Widgets on WordPress
Bonus tip:
Download your Disclaimer in multiple file formats.

Scroll down and click on the "Generate files" button to download a Disclaimer agreement in multiple formats:
- HTML
- DOCX
- Plain Text
- Markdown
How to Link to a Disclaimer URL using Menus on WordPress
Here are instructions for how to link your Terms and Conditions page URL in the footer of your website by using Menus and Custom Links on WordPress.
- Log in to your WordPress website.
- From the Dashboard, go to Appearances then Menus:
- In the Menus editor, under the Menu structure section, type your Menu Name (for example, "Footer") and click Save Menu:
- Next, in the section on the left side called Add menu items, click on Custom Links:
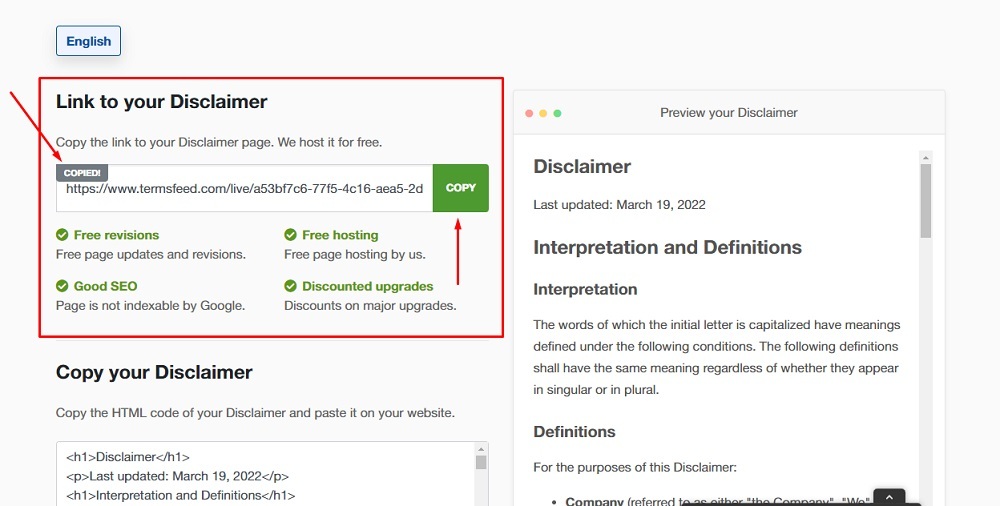
- In order to get the Disclaimer URL link that is hosted on our site you'll need to go to the TermsFeed Generators App and go to the Download page.
-
In the Link to your Disclaimer section, click on the green Copy button:
If you do not have a Disclaimer agreement, you can create one right now by using our Disclaimer Generator.
- Go back to the Menus Editor and paste your Disclaimer URL to the URL link field. Type Disclaimer in the URL text field and click the Add to menu button:
- Next, check the Footer Menu box under Menu Settings and click Save Menu:


You're done!
Want more?
Check our videos on YouTube channel and learn how to link pages on WordPress by using Page and Widgets:
- How to Create a Disclaimer Page on WordPress
- How to Link to a Disclaimer URL using Widgets on WordPress
How to Link to a Disclaimer URL using Widgets on WordPress
Here are instructions for how to link your Disclaimer page URL to your WordPress website by using Widgets and block options in the footer.
- Log in to your WordPress website.
- From the Dashboard, go to Appearances then Widgets:
- In the Widget editor, click the "+" sign:
- Click Widget Group:
- Click on the "+" sign:
- Add a Paragraph block:
- When the new section is added, name your group (for example, "Legal") and type Disclaimer:
- Select it and click the link icon under formatting options:
- The new field for adding the URL will open:
- Go to the TermsFeed App Download page.
-
In the Link to your Disclaimer section, click on the Copy button:
If you do not have a Disclaimer you can create one right now by using our Disclaimer Generator.
- Go back to the widget and paste your Disclaimer URL and click enter:
- Click the Update button:


![]()


You're done!
Want more?
Check our videos on YouTube channel and learn how to link pages on WordPress by using Page and Menus:
- How to Create a Disclaimer Page on WordPress
- How to Link to a Disclaimer URL using Menus on WordPress
On-Page and In-Post Disclaimers
Linking to your Disclaimer in a site footer or sidebar menu is a universal, smart way to make sure your disclaimer is noticeable and easily accessible. However, sometimes you may need or want to include your disclaimer directly in the text of a blog post, article or page on your blog.
For example, if you create a post that has affiliate links, you're required by the FTC to make sure that the post is clearly labeled as having affiliate links. One way to do this is to include a link directly within the post that goes to the Disclaimer page you just created.
Here's how Katie over at the Wellness Mama blog discloses that posts contain affiliate links. She adds this statement at the beginning of articles where they're sure to be noticed, and links off to her affiliate policy page:

You could do something similar with your posts and link to the Disclaimer page you learned to create earlier in the article. This method works well regardless of what type of disclaimer you use.
After you create the Disclaimer or Disclaimers that you'd like (or need) on your WordPress website:
- Create a Disclaimer page in your WordPress Dashboard
- Link this page to a static area of your site (footer, sidebar, etc.) via your WordPress Dashboard
- For added transparency, link your Disclaimer page within your individual posts or to other pages of your WordPress website

The first step to compliance: A Privacy Policy.
Stay compliant with our agreements, policies, and consent banners — everything you need, all in one place.


