
In this video, we'll show you how to add a cookie consent block to your Tilda website's footer.
The header and footer sections on Tilda are separate pages. For our video, these pages are already created and configured.

Let's start:
-
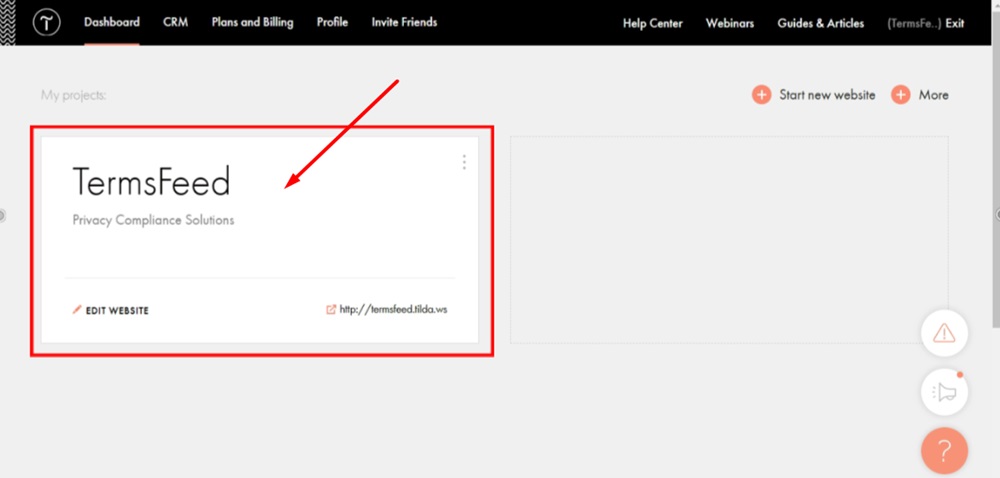
Log in to your Tilda account. Click "Edit site":
-
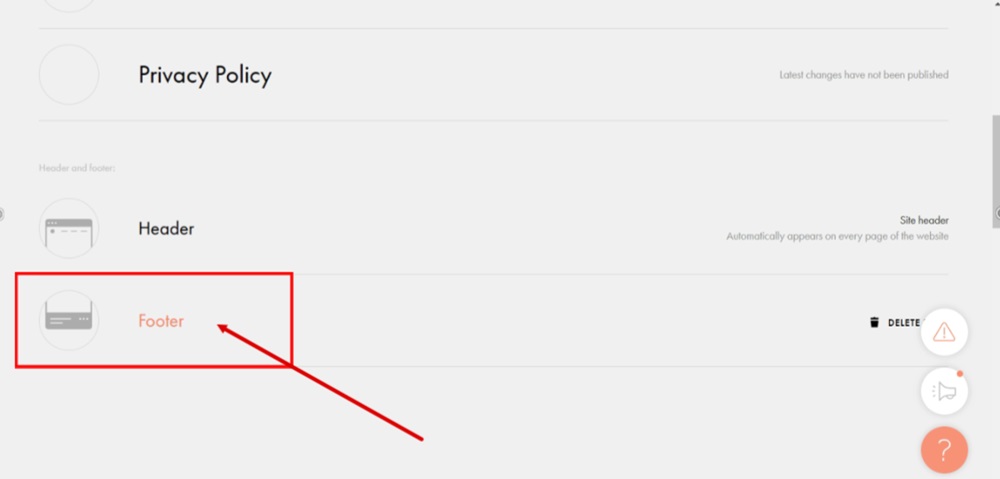
Click the Footer to start editing it:
-
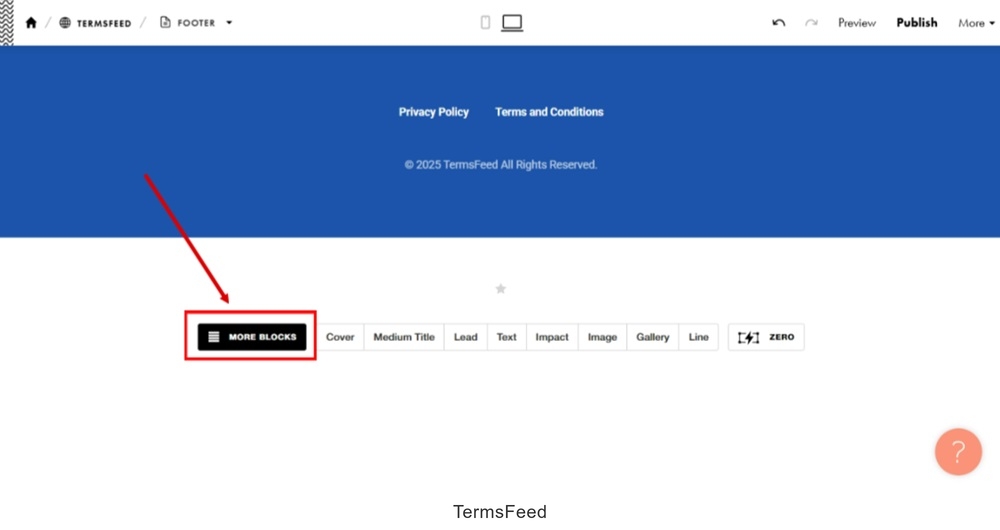
Click the "More Blocks" option:
-
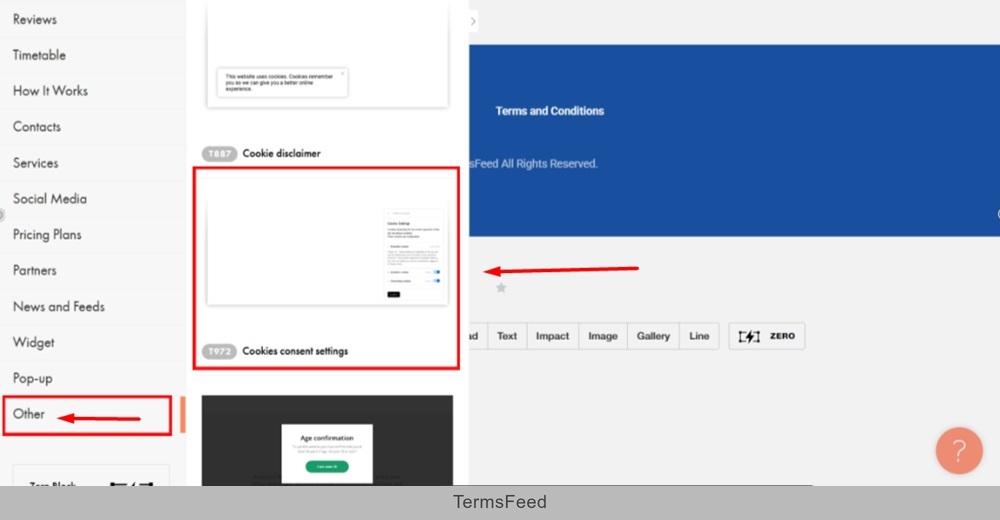
From the Block library, scroll down to the "Other" option and click at the "Cookie consent settings" block to add:
-
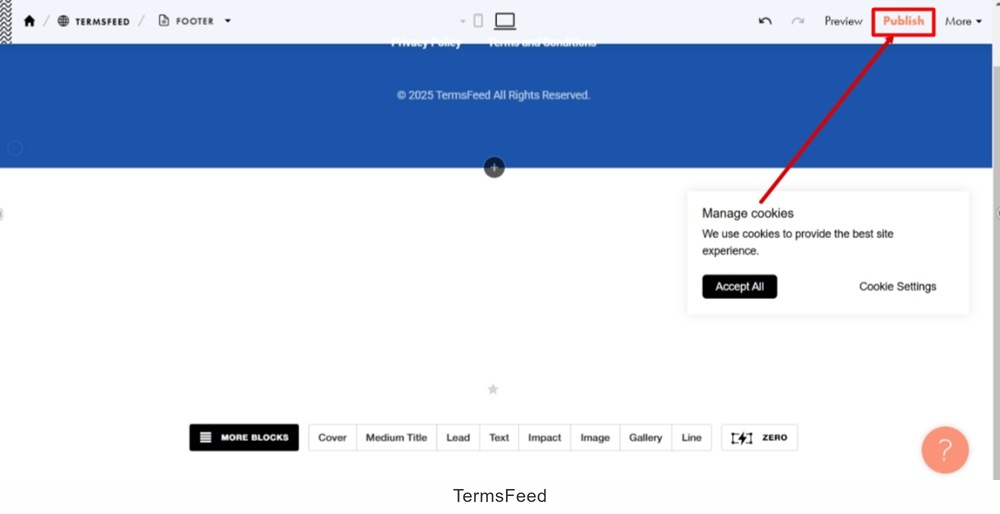
Publish changes:
-
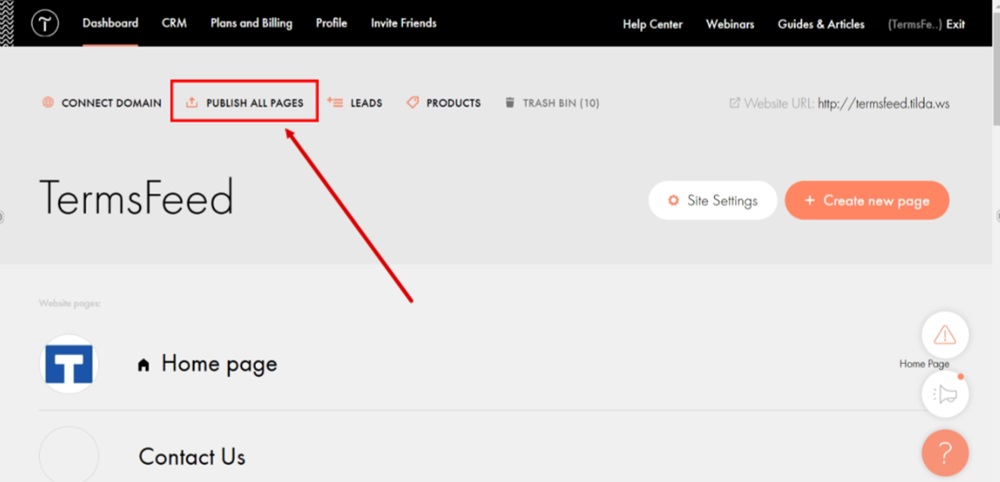
Go back to the website and click "Publish All Pages:"
-
The Cookie consent notice is now displayed on the Tilda website:

-
Done.


